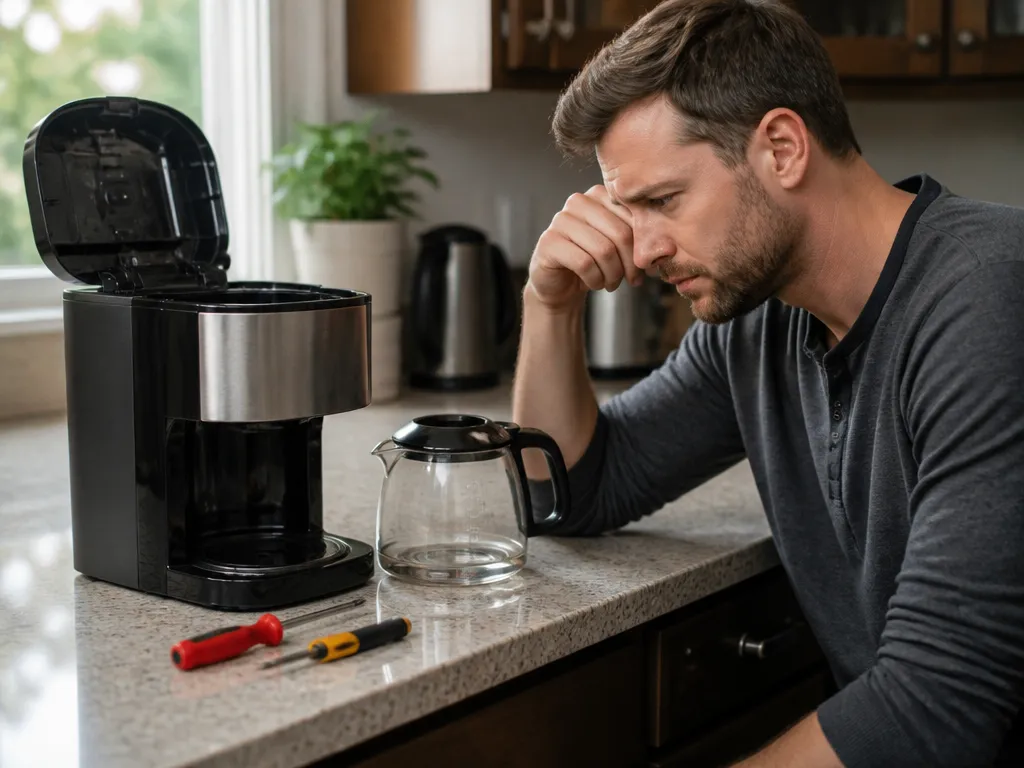
You wake up expecting a hot cup of coffee only to find your machine making a pathetic sputtering noise instead of a full brew. Most people assume the appliance is broken and start shopping for a replacement, but 90 percent of these issues result from simple mineral buildup or a clogged intake line. Fixing this yourself saves you the 100 to 300 dollar cost of a new machine and keeps your current unit running for years.
Coffee maker troubleshooting starts with descaling your machine using a 50/50 mixture of white vinegar and water to clear internal mineral deposits. If the unit still fails to brew, check for physical clogs in the intake valve or a failed thermal fuse. Repairs are usually easy, requiring less than 30 minutes of effort.
Coffee Maker Not Brewing Troubleshooting Guide
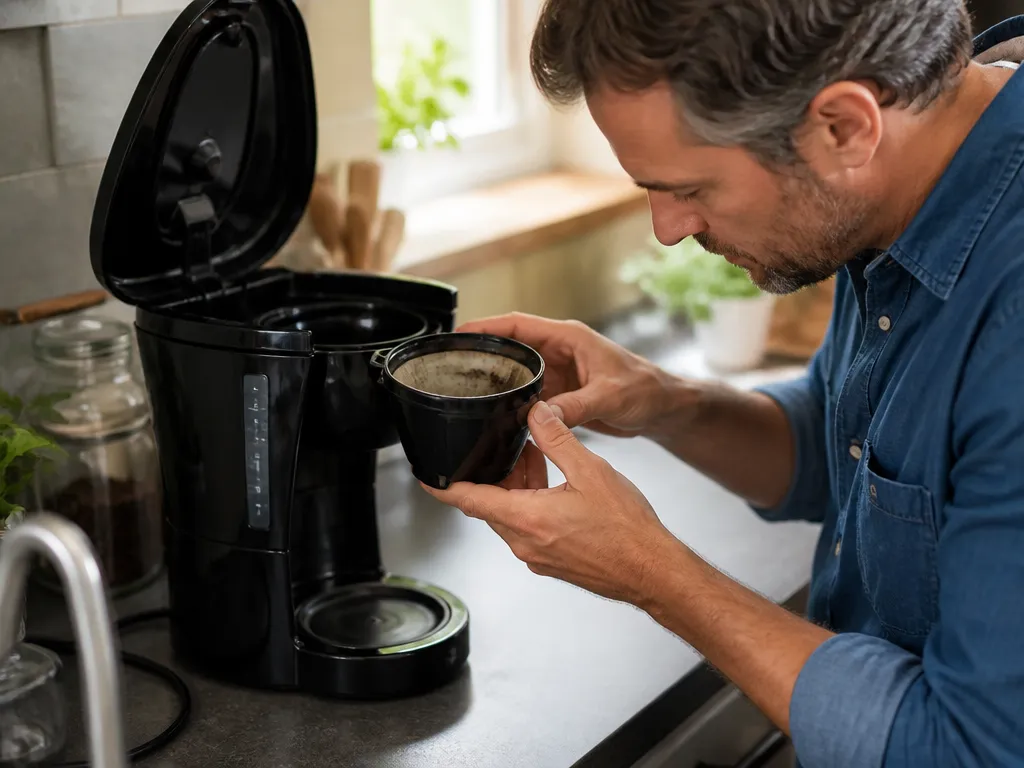
Brewing failures typically stem from mineral buildup, electrical malfunctions, or simple user errors like improper water reservoir seating. Most standard drip machines last 5 to 8 years, but regular descaling can extend that lifespan significantly.
Identifying the specific failure type saves you from unnecessary replacement costs. A machine that won’t turn on requires a different approach than one that makes noise but produces no coffee.
Common Failure Symptoms
For instance, a machine that makes a loud humming sound but produces no coffee often has a complete blockage in the internal tubing. This is usually caused by calcium carbonate deposits from hard water.
Diy Fixes Vs. Professional Repair
Simple maintenance tasks are best handled at home to avoid high service fees. Most coffee maker repairs fall into two categories: user-serviceable cleaning and technician-level electrical work.
| Repair Type | Typical Cause | Estimated DIY Cost | Professional Cost |
|---|---|---|---|
| Maintenance | Mineral buildup/Scaling | $5 – $15 | $80 – $120 |
| Component Swap | Faulty heating element | $20 – $50 | $150 – $250 |
| Electrical | Blown thermal fuse | $10 – $20 | $100 – $180 |
Pro tip: Always check your manufacturer warranty before opening the casing. DIY repairs involving internal components can void your warranty and may pose an electrical shock risk.
ALWAYS unplug the appliance before attempting any internal inspection or cleaning. If you notice any smell of burning plastic or see visible smoke, stop using the machine immediately and discard it if it is an inexpensive model, as the cost of repair will likely exceed the value of a new unit.
In practice, if a $30 drip machine stops working, it is rarely worth the $100 technician fee. However, for premium espresso machines or high-end drip brewers costing over $200, professional service is a much smarter investment.
How Coffee Makers Work
Drip coffee makers use a heating element and a one-way valve to move water from the reservoir to the brew basket. The water boils, creates steam pressure, and pushes the liquid upward through a tube.
The Water Flow System
Drip machines rely on a process called bubble-up action. Water flows through a one-way valve into a narrow aluminum tube wrapped around a heating element. As the water boils, steam bubbles force the hot water up the tube and into the filter basket.
For instance, if the one-way valve is clogged with mineral scale, the water cannot enter the tube. This results in a machine that sounds like it is working but never produces coffee.
A standard mid-range coffee maker typically lasts 5 to 8 years. High-end thermal carafe models can last 7 to 10 years with regular descaling.
Thermal Protection And Heating
The heating element is a resistive coil that converts electricity into heat. Most machines include a thermal fuse that breaks the circuit if the temperature exceeds a safe limit. This prevents the plastic housing from melting or causing a fire during a dry-run.
Always unplug the machine before removing the outer casing to check the fuse. DIY replacement of a blown thermal fuse costs $10 to $20 for the part. Professional labor for this repair usually ranges from $100 to $180, which often exceeds the value of a budget machine.
Running a 1000W machine costs roughly $0.20 per pot based on average US electricity rates. Using a programmable timer can save small amounts of energy by avoiding the warming plate’s constant draw.
Pro tip: Descale your machine every 90 days using a 50/50 mix of white vinegar and water to prevent calcium buildup from blocking the heating tube.
| Maintenance Task | Frequency | Estimated Time |
|---|---|---|
| Descaling | Every 3 months | 30 minutes |
| Water Filter Change | Every 2 months | 5 minutes |
| Basket Deep Clean | Weekly | 10 minutes |
Coffee Maker Features That Actually Matter
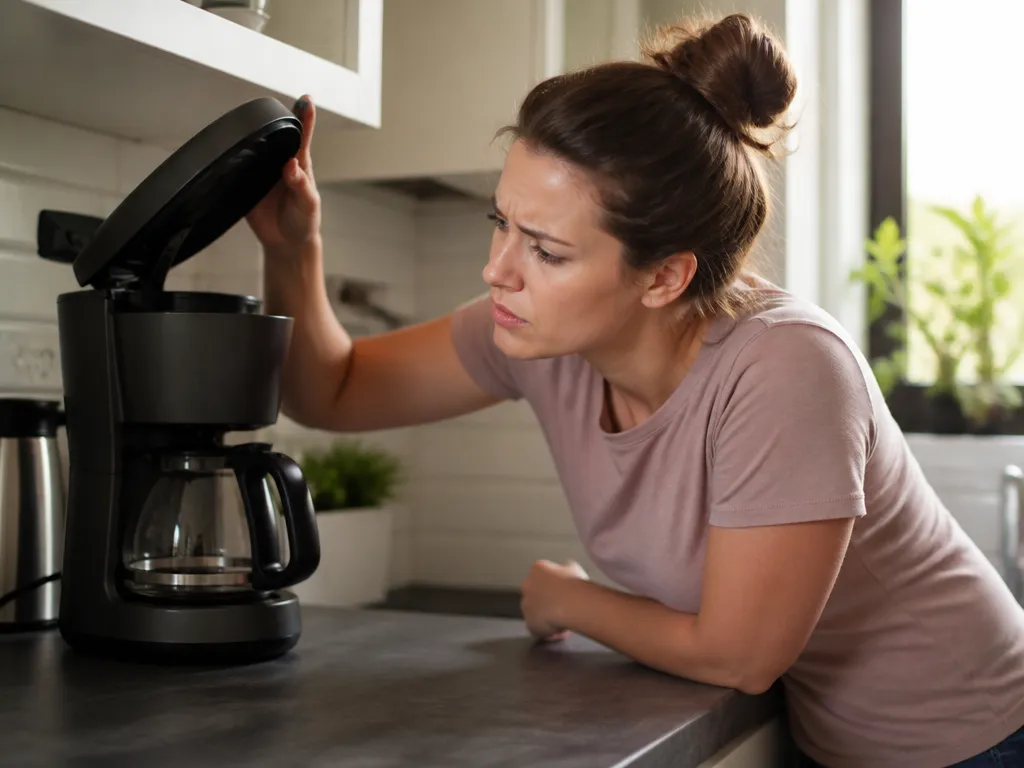
Heating element durability determines if a machine lasts two years or ten years. Resistant elements handle thermal shock better than cheaper ones. Choosing a unit with a metal heating coil inside a stainless steel tank prevents the common failure mode of cracked tanks.
Thermal shock happens when cold water hits a hot element, causing cracks. This is the primary reason brewers stop brewing water. Look for a metal heating coil inside a stainless steel tank rather than a plastic tank with a heating element on the outside.
Sediment buildup clogs internal tubes over time. Carbon filters improve taste but require frequent replacement. A simple mesh screen is cheaper but less effective at removing chlorine or mineral deposits that corrode internal parts.
Choosing The Right Controls
Mechanical switches are generally more reliable than digital displays. Digital controls offer convenience but introduce points of failure. If you use the timer daily, a mechanical switch is a safer bet for longevity.
For example, a digital clock display failing often means the entire circuit board needs replacement. This repair can cost $80 to $120, whereas a mechanical timer simply needs a new toggle switch costing less than $10.
| Feature | Budget ($50-$100) | Mid-Range ($100-$200) | Premium ($200+) |
|---|---|---|---|
| Heating Element | Coil in plastic tank | Coil in stainless tank | Coil in stainless tank with thermal cutoff |
| Filtration System | None | Mesh screen | Carbon filter + charcoal mesh |
| Controls | Mechanical only | Mechanical + digital display | Touchscreen or app connectivity |
| Estimated Lifespan | 2-4 years | 5-7 years | 8-12 years |
Always unplug the unit before attempting any internal inspection or cleaning. Opening the case to check the heating element usually voids the manufacturer warranty. Professional repair for a heating element failure typically costs $150 to $300, while a new machine might run $50 to $150.
Pro tip: Descaling your machine every three months prevents mineral buildup that kills the heating element. This simple step can extend the lifespan of a $150 machine by 5 to 7 years.
Proper Coffee Maker Setup
Correct installation prevents the most common airlock and sediment issues that stop a machine from brewing. Most residential coffee makers require a flat, level surface and a clear path for steam ventilation to function consistently over their 5 to 10 year average lifespan.
Pro tip: Always unplug the unit before moving it or refilling the tank near the sink to prevent electrical shorts. A new high-efficiency coffee maker uses approximately 800 to 1200 watts per cycle, so ensure your kitchen circuit is not overloaded by other high-draw appliances like toasters.
Verify that the brew basket is locked into the correct position after the initial cycle. If the basket is slightly misaligned, the machine may trigger a safety shut-off that prevents the pump from engaging, leading you to believe the unit is broken when it is simply misaligned.
Check the bottom of the water reservoir for any debris or mineral buildup if the machine fails to draw water during the first use. A simple wipe with a soft cloth can remove small manufacturing particles that often clog the intake valve during initial setup.
Coffee Maker Maintenance Schedule
Mineral buildup and coffee oil residue cause 80 percent of brewing failures in standard drip machines. Sticking to a strict cleaning cycle extends the average 5 to 8-year lifespan of these units and prevents the bitter, burnt taste associated with old machines.
| Task | Frequency | Time Required |
|---|---|---|
| Wash Carafe and Filter Basket | Weekly | 5 Minutes |
| Internal Vinegar Flush | Monthly | 30 Minutes |
| Deep Descaling Solution | Quarterly | 45 Minutes |
| System Flow Check | Annually | 15 Minutes |
Weekly Routine
Weekly cleaning prevents the accumulation of rancid coffee oils that coat the carafe and brew basket. Wash these removable parts in warm, soapy water or place them on the top rack of your dishwasher if the manufacturer manual lists them as dishwasher-safe.
Pro tip: Wipe the exterior housing with a damp microfiber cloth to remove dust and splatter. Never submerge the electrical base in water, as this risks short-circuiting the heating element.
Monthly Deep Cleaning
Monthly cleaning removes the calcium deposits that block internal tubing and restrict water flow. Fill the reservoir with a mixture of half white vinegar and half water. Run a brew cycle halfway, turn the machine off, and let it sit for 30 minutes to dissolve mineral scales before finishing the cycle.
Flush the system twice with plain water afterward to eliminate the vinegar taste. If you skip this step, the residual acidity can damage internal gaskets and seals.
Quarterly Descaling
Quarterly descaling uses specialized citric acid cleaners to remove stubborn limescale that vinegar cannot touch. Commercial descaling solutions cost between $10 and $20, which is significantly cheaper than the $50 to $150 cost of replacing a machine that has failed due to clogged heating elements.
Annual System Checkup
Annual checkups involve inspecting the power cord for fraying and checking the water reservoir for cracks. Always unplug the machine before inspecting internal components or removing the housing. If you notice internal leaking or inconsistent water temperature, you may need to replace the heating element, a repair that costs $20 to $40 in parts but may void your warranty if performed improperly.
Top 5 Brewing Problems And Fixes
Coffee makers often stop brewing due to mineral buildup in the internal lines or air locks in the pump mechanism. These mechanical failures typically occur after 6 to 12 months of daily use in regions with hard water.
No Water Flow
Symptom: The machine hums but no water exits the reservoir. Cause: A calcium deposit clog or a trapped air bubble in the intake tube. Fix: Unplug the unit and use a bulb syringe to force warm water into the intake valve to dislodge air. If that fails, run a vinegar solution through a full cycle to dissolve internal scale.
Water Not Heating
Symptom: The machine brews lukewarm or cold coffee. Cause: A failed heating element or a blown thermal fuse. Fix: Test the heating element with a multimeter for continuity. If the element is open, the internal thermal fuse likely tripped. Warning: Always unplug the appliance before removing the housing. Replacement parts usually cost $15 to $40, while professional repairs range from $100 to $200.
Slow Or Weak Brewing
Symptom: The brew cycle takes twice as long as normal or the coffee tastes watery. Cause: Clogged spray head or excessive scale on the heating element. Fix: Remove the showerhead screen and scrub it with a soft brush to clear coffee oils and mineral debris. Descaling with a 50/50 mix of white vinegar and water every 3 months prevents this issue entirely.
Coffee Maker Won’t Turn On
Symptom: No lights or display activity when the power button is pressed. Cause: Tripped GFCI outlet, faulty power cord, or a blown internal board. Fix: Check your home circuit breaker first. If the outlet works, inspect the power cord for fraying. DIY repairs on control boards are rarely feasible, and professional service often exceeds the cost of a new $50 to $150 machine.
Coffee Tastes Bad
Symptom: A burnt or metallic aftertaste even with fresh beans. Cause: Rancid coffee oil buildup or old internal seals. Fix: Deep clean the carafe and brew basket with hot, soapy water. If the taste persists, the internal silicone tubing may be degrading and require replacement to restore pure flavor.
Pro tip: Descaling your machine every 90 days extends the lifespan of the heating element by up to 3 years and keeps your energy usage consistent.
Energy Efficiency And Money-saving Tips
Regular maintenance extends the average lifespan of a standard drip coffee maker from 3 to 5 years up to 8 years or more. Descaling your machine every 3 months prevents mineral buildup that forces the heating element to work longer, which directly inflates your utility bills.
Energy consumption varies significantly by brewing method. A standard drip machine uses 750 to 1200 watts during the brew cycle, but keeping the warming plate on for hours consumes unnecessary power. Switch to an insulated thermal carafe model to eliminate the need for a heating plate, saving you approximately $15 to $25 in annual electricity costs.
Maintenance Schedule For Longevity
| Task | Frequency | Benefit |
|---|---|---|
| Descale with vinegar/water | Every 3 months | Prevents heating element failure |
| Wash carafe and filter basket | Daily | Prevents mold and oil buildup |
| Wipe exterior housing | Weekly | Protects internal sensors |
Eco-friendly Operational Habits
Pro tip: If your machine has a “keep warm” function, turn it off immediately after brewing. Coffee quality degrades after 20 minutes, and the heating plate accounts for the highest percentage of total energy use per pot.
Always unplug the coffee maker before performing any internal cleaning or maintenance. Moisture near electrical components causes short circuits that can permanently damage the control board, leading to repair costs that often exceed $80, effectively making a new machine a more economical choice.
Quick Summary
Most coffee makers stop brewing because of mineral buildup or clogged intake lines rather than major mechanical failure. Homeowners can resolve these issues by descaling the unit every three months with a simple mixture of white vinegar and water. This routine maintenance extends the typical unit lifespan of five to ten years significantly. If a machine makes sputtering noises or fails to produce water flow, a quick DIY cleaning process often saves the user between one hundred and three hundred dollars compared to purchasing a brand new replacement appliance.
Internal repairs like replacing a faulty thermal fuse cost between ten and twenty dollars for parts, though professional labor fees can range from seventy-five to two hundred fifty dollars. If your machine smells like burning plastic or displays error codes, you should contact a technician or discontinue use entirely for safety reasons. Always unplug your device before inspecting internal components to avoid electrical shock risks. Ultimately, investing in professional service is only cost effective for premium brewers, while simple descaling remains the best method for protecting your long term investment.
| Category | Estimated Cost/Detail |
|---|---|
| New Machine Cost | $30 to $200+ |
| DIY Repair Cost | $5 to $50 |
| Professional Repair Cost | $80 to $250 |
| Annual Maintenance | $5 to $15 |
| Maintenance Schedule | Every 3 months |
Frequently Asked Questions
Why Is My Coffee Maker Making Noise But Not Pumping Water?
This is usually caused by a calcium buildup in the internal heating element or tubes. You should try a descaling process using white vinegar or a commercial descaler to clear the mineral obstructions.
Is It Worth Repairing A Coffee Maker If It Stops Brewing?
If the repair cost exceeds 50 percent of the price of a new machine, you should replace it. Most consumer drip machines have a lifespan of 5 to 8 years, so older models are rarely worth professional repair.
How Often Should I Descale My Coffee Machine To Prevent Clogs?
You should perform a deep clean every 1 to 3 months depending on your water hardness. Using filtered water can extend the time between cleanings and prevent the pump from burning out.
What Is The Most Reliable Brand For A Long Lasting Coffee Maker?
Brands like Moccamaster and Breville are known for higher durability and repairability. While they cost more upfront, they often last significantly longer than budget models found in big box stores.
Can I Fix A Leaking Coffee Maker Myself?
You can often fix minor leaks by replacing a worn-out rubber gasket or O-ring, which costs less than $10. However, if the leak is coming from internal tubing or the heating element, you should contact a professional or replace the unit to avoid electrical risks.