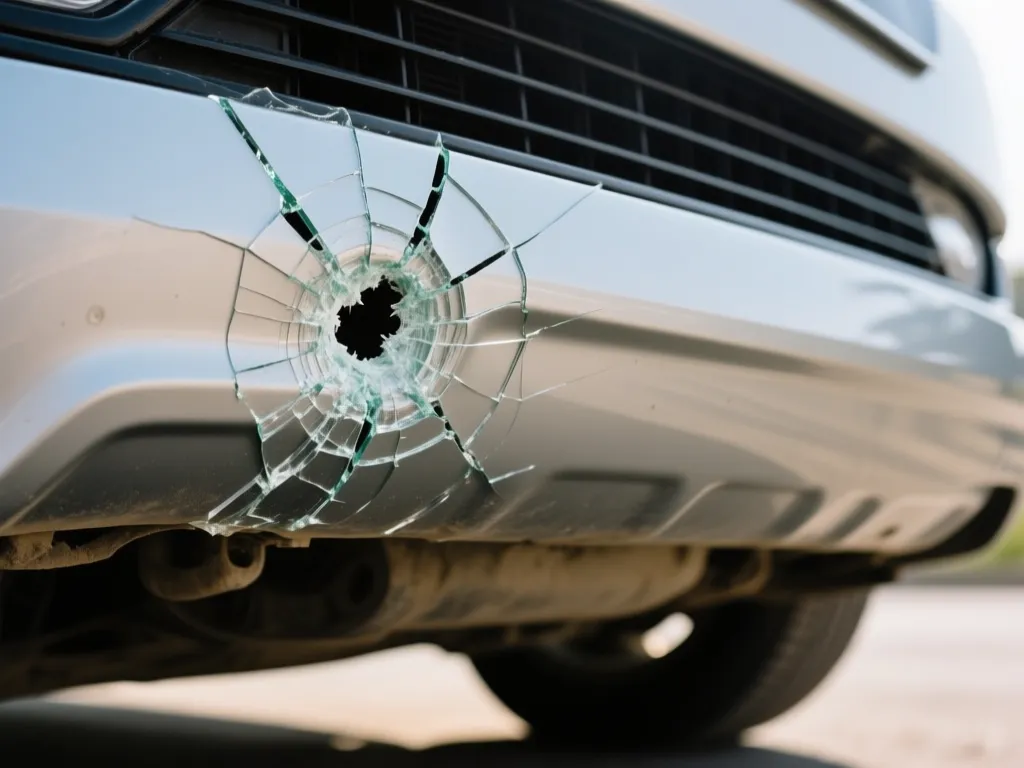
A cracked plastic bumper is usually fixable at home, but the right method depends on the bumper plastic type (and how bad the crack is). If the bumper is hanging, leaking, or cracked near a mounting point, drive it gently and fix it fast. If it’s a clean crack with no missing chunks, you can repair it with plastic filler or epoxy, then sand and paint. This guide gets you from the first safe check to a repair you can realistically blend.
Plastic bumper cracks are repaired by cleaning the area, then bridging the crack with either a plastic-compatible filler or epoxy, reinforcing it if needed, sanding smooth, and painting to match. For many home repairs, fiberglass mesh plus filler works best on longer cracks, while small “hairline” cracks often do fine with plastic filler alone. If the crack is structural or the bumper cover is separating from mounts, consider a shop.
Key Takeaways
- First check for safety. If the bumper cover is loose, sagging, or exposing sharp edges, stop and get it handled professionally.
- Confirm bumper type. Look for a recycling code or marking to choose filler and avoid chemical incompatibility.
- Clean to bare plastic. Degrease thoroughly, then dry completely so filler bonds instead of peeling.
- Use reinforcement when needed. Fiberglass mesh helps if the crack is long, on a flexing area, or edges don’t meet cleanly.
- Sand in steps. Start with coarser sand to shape, then finer grit to remove sanding marks before painting.
- Paint blending is everything. Scuff the repair, prime correctly, and blend outward to avoid a visible patch.
How do I repair a crack in my plastic bumper?
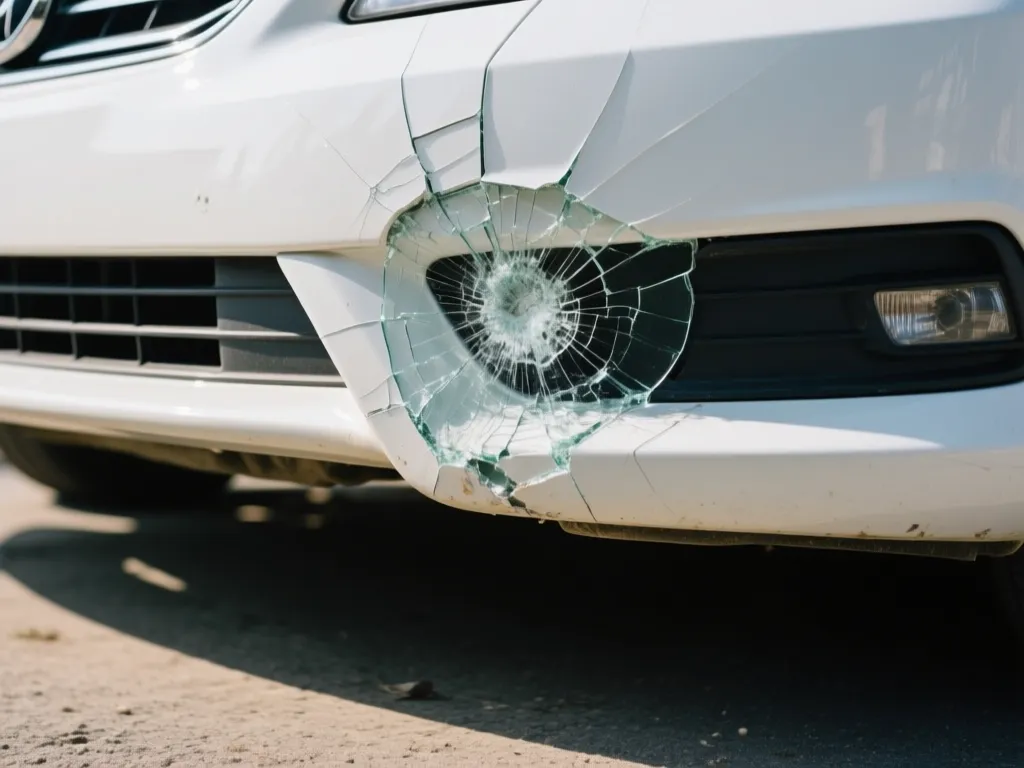
The quickest safe diagnosis is this: if you can gently push the crack area and the bumper cover moves a lot, you likely have a flexing crack that needs reinforcement, not just filler. If the bumper cover is mostly rigid and the crack edges touch neatly, you can often repair it with plastic filler or epoxy and then blend it with paint.
Before you buy anything, take a minute to inspect the crack pattern. Cracks right next to mounting clips, impact absorber structures, or seams that hold the cover in place tend to need more than a cosmetic patch. Cracks with missing material, deep gouges, or the bumper actually separated from clips are better handled by a pro, because you can end up with a brittle repair that pops off when you hit a pothole or the car flexes.
Required Tools and Materials for Bumper Repair
You can do this repair with a small kit, but you need the right compatibility. The big categories are plastic repair consumables (filler or epoxy), surface prep (cleaners and sandpaper), and finishing (primer and paint). Having everything ready avoids the common failure mode where you clean once, wait too long, and then bond over contamination.
Use the tools below as your baseline. If you already have car-detailing supplies, you may overlap, but don’t skip the bonding and finishing steps, because that’s what determines whether the repair lasts.
- Safety gear: nitrile gloves and eye protection
- Cleaning/degreasing: automotive wax and grease remover or a dedicated degreaser
- Sandpaper and sanding supplies: sanding sheets in multiple grits (common approach is starting coarse for shaping, then finer for feathering)
- Mixing tools: for two-part fillers/epoxies (stir sticks, disposable mixing surface)
- Application tools: plastic spreaders or putty knives, plus a small brush for spreading epoxy if needed
- Reinforcement (if crack is long/flexy): fiberglass mesh or fiberglass repair cloth
- Plastic-compatible repair product(s): choose plastic filler or epoxy based on bumper marking (see next section)
- Primer and paint: primer that works for plastic, plus automotive color-matched paint and clear coat (if your system uses it)
Here’s a simple decision so you don’t overbuy: if the crack edges meet cleanly and the bumper doesn’t flex much, start with plastic filler. If the crack is long, the edges don’t align, or you can wiggle the area, plan for fiberglass mesh plus filler.
Cleaning and Degreasing the Bumper Surface
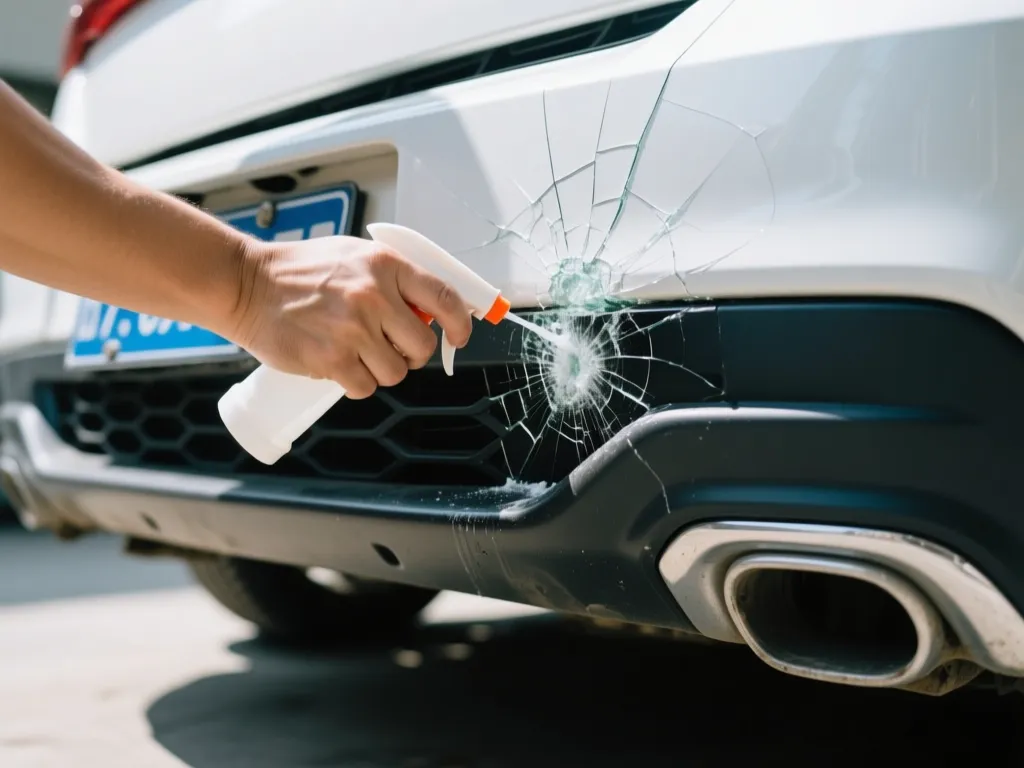
Cleaning is where most bumper repairs fail. If the crack area has wax, old polish, road film, or silicone residue, filler and paint can look fine for a week and then lift or flake when it warms up.
Start by washing the bumper thoroughly, then drying it completely. After that, use a dedicated wax and grease remover on the crack and at least a few inches around it. You want the surface to feel “squeaky clean” and not slick. Let it fully dry, because trapped moisture under filler causes weak bonding.
Next, remove loose paint or any flaky edges at the crack. Lightly sand the area so you’re not trying to bond to glossy plastic or loose coating. Use a scuffing pass rather than grinding away all the surrounding finish. If you sand past the bumper cover’s outer layer, don’t panic, but understand you’re now relying on primer and paint adhesion to do their job.
For best results, repair in a controlled environment. If it’s very cold or humid, bonding materials can cure poorly and paint can fisheye. If you can, work in a garage or shaded area and follow cure times for whatever product you use.
Filling the Crack with Plastic Filler or Epoxy
Pick your filler based on how the crack behaves. For hairline cracks or damage where the edges align and the bumper doesn’t flex much, plastic filler can be enough. For longer cracks, misaligned edges, or places that see bending, epoxy plus reinforcement is usually the more reliable path.
Before mixing anything, dry-fit the crack edges. Gently bring the crack together and see if it closes without forcing it. If you have to push hard to close it, plan on reinforcement, because a filler alone may crack again when the bumper moves. If the crack edges don’t meet cleanly, you may need to remove thin debris from the crack with light sanding or careful trimming so the repair has real contact.
Apply the filler in thin layers rather than one thick blob. Thick filler traps air and can shrink or crack as it cures. Spread product so it bridges the crack with coverage that extends beyond the damaged area. Let it cure fully, then inspect the surface for pinholes, low spots, or areas that didn’t fully adhere.
If you choose epoxy for the structural bridge, treat it like a glue job first and a fill job second. Mix exactly and apply it to the crack edges so it wets the surfaces, then reinforce if the product and your plan call for it. Epoxy repairs generally hold better across flexing areas, but they still need proper sanding and a compatible finishing system to look good and last.
Stop and reassess mid-repair if you notice lifting, bubbling, or a “hollow” feel under your filler. That usually means contamination or poor bond. At that point, remove what’s failing back to solid material and re-clean before starting again.
Reinforcing the Crack with Fiberglass Mesh
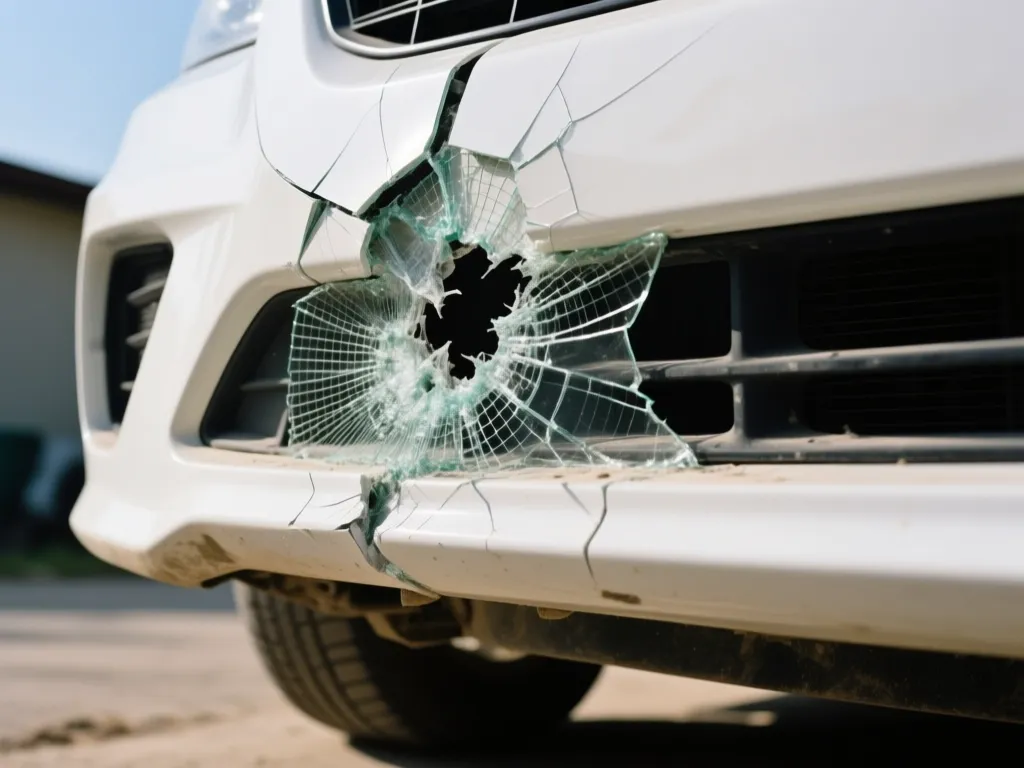
Fiberglass mesh is your safety net when the bumper flexes, when the crack runs long, or when the crack edges won’t stay aligned. The mesh gives the repair a skeleton so it doesn’t behave like brittle plastic putty. It’s also the right move when you’re repairing a crack that might be exposed to repeated impacts, like the lower bumper area.
Start by cutting the mesh larger than the crack area. You want the mesh to overlap solid plastic on both sides, not just sit across the opening. Test-fit the mesh to confirm it lays flat without bunching. If it doesn’t lie flat, trimming matters, because wrinkled mesh creates uneven filler thickness and more sanding work.
Apply epoxy (or a compatible base layer if your system requires it) and press the mesh into place. Work the product through the mesh so it’s fully wetted, not sitting on top like a sticker. When it cures, the mesh becomes part of the repair and adds rigidity where the plastic cover is weak.
After reinforcement cures, you still need to fill and level. Think of fiberglass mesh as reinforcement and filler as shaping. Apply your plastic filler over the cured mesh, then smooth it down after curing. Skipping the filler shaping step almost always leaves a rough ridge that shows through paint.
Sanding the Repair Area for a Smooth Finish
Sanding is where a repair stops looking like a patch and starts looking like “factory plastic.” Your goal is to remove ridges, blend transitions, and create a surface that primer and paint can grip evenly. Rushing sanding is the fastest way to end up with sanding marks that show later.
Start with a grit that matches your situation. If the repair is high, cut it down with a coarser grit until it’s close to the original contour. If it’s already close and mostly needs refinement, start with a medium grit. Always sand with the goal of feathering outward, not just grinding the middle of the repair.
Check your progress often by sighting across the surface at an angle. A crack repair tends to show as a line, a hump, or a low spot once light catches it. Use light pressure and keep the sand moving. If you see you’re sanding through too aggressively, stop and switch to a finer grit to avoid gouges.
When the shape is right, move to finer grit to remove sanding scratches. Do not skip fine sanding if you want a clean paint finish, because primer will not magically erase deep scratch patterns. Wipe away dust with a clean cloth after each sanding stage so particles don’t embed in your next layer.
One important “stop” sign: if you expose bare plastic or see the reinforcement edges telegraphing, you may need additional filler. Don’t try to bully it flat with primer. Adding one more thin filler pass, sanding, and then priming is usually quicker than fighting a bad surface.
Painting and Blending the Repaired Plastic
Painting is about adhesion and blending, not about spraying harder. A good bumper repair looks right because the paint transition is gradual and the coating system is compatible with plastic.
Start by applying a plastic-compatible primer after the final sanding. Primer fills micro-scratches and helps the topcoat grip. Apply according to product instructions, usually with multiple light coats rather than one heavy pass. Let it cure fully before color matching, because rushing here can cause peeling later.
Then apply automotive color in thin coats. Blend beyond the repair area so you don’t end up with a hard edge. The more precise you are with overspray blending, the less likely you are to see a “halo” around the patch. If you’re painting a bumper cover with metallic or pearl tones, blending matters even more because color shift shows differently at angles.
Clear coat (if your system uses it) locks in the finish. After curing, you can optionally polish very gently to unify gloss, but only after the paint has fully cured. If you polish too early, you can damage the surface or reduce durability.
Two common mistakes to avoid: painting over dust and painting too soon. Any sanding dust left behind can create bumps or rough texture. Any premature topcoat can cause wrinkling or poor adhesion, especially if the primer didn’t cure.
If you want the most “invisible” result, plan to paint a larger area than the crack itself. Small touch-ups are tempting, but bumper paint often looks different on edges and curves. Blending outward and matching sheen is usually the difference between a DIY repair and something you’d be comfortable parking next to a newer car.
FAQ
Do I need special plastic filler for a bumper crack?
You usually need plastic-compatible products, especially if the bumper cover is a modern composite. Look for recycling markings or product instructions that say the filler is for plastic bumpers. If you are unsure, epoxy often works as an adhesive bridge, but the finish must still be sanded and primed with compatible primer.
What tools do I actually need, and what can I skip?
You can skip fancy equipment, but you cannot skip proper prep. Expect to use gloves and eye protection, a wax and grease remover, sandpaper in multiple grits, a filler or epoxy, and primer plus paint. If you can afford it, a plastic spreader and mixing surface make the work easier and cleaner than improvised tools.
How long does a bumper crack repair take?
A typical DIY repair is spread over multiple steps: cleaning, sanding, filler curing, reinforcement curing (if used), and paint curing. Realistically, plan for at least a full day of active work plus additional time for curing between coatings. If your weather is cold or humid, add more cure time and do not rush painting.
When should I stop and take it to a body shop?
Shops can replace or reattach damaged components correctly and match paint systems more consistently.
What’s the most common mistake when repairing plastic bumper cracks?
The most common mistake is poor surface prep. If you skip degreasing or try to bond over glossy contamination, the repair can fail even if it looks good initially. Another common one is applying thick filler in one pass, which can shrink, crack, or create pinholes after curing.