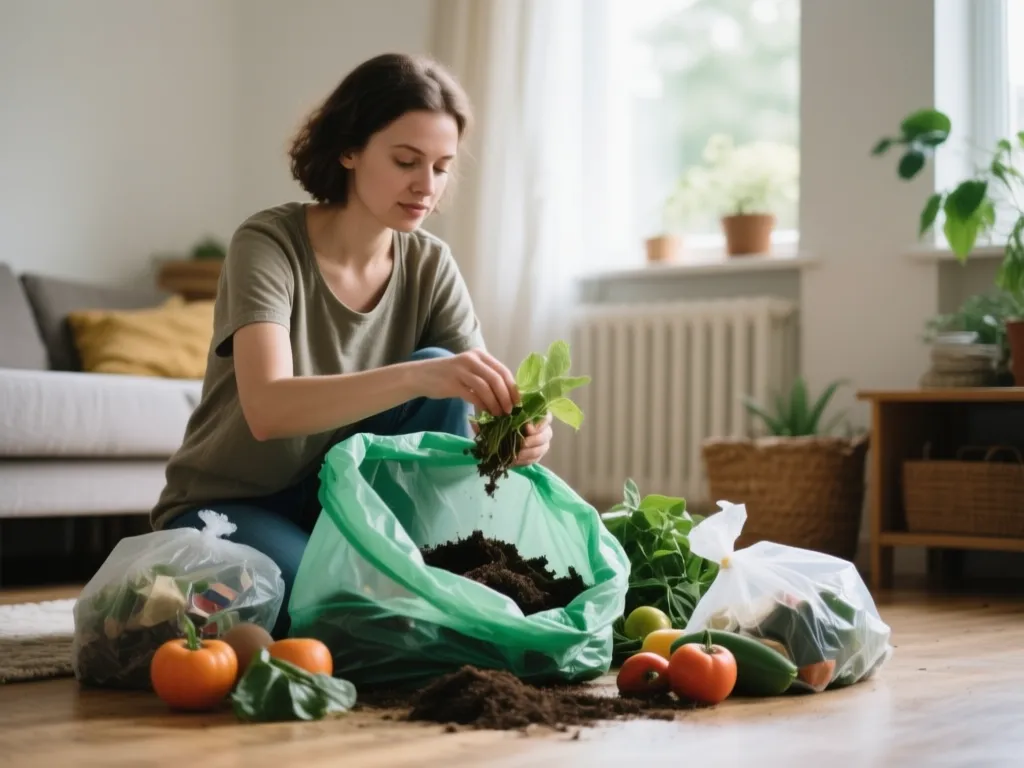
Composting transforms your kitchen scraps and yard waste into nutrient-rich soil that benefits your garden and reduces landfill waste. About 30% of what we throw away is organic material that could be composted instead. This guide will walk you through the simple steps to start composting at home, from choosing a system to maintaining your pile and harvesting the finished “black gold” for your garden.
Starting home composting requires a bin or pile, proper green-brown material balance, and regular turning. Aim for a 3:1 ratio of carbon-rich “browns” to nitrogen-rich “greens,” keep the pile moist like a damp sponge, and turn it every 3-4 days when temperatures drop below 104°F. With these basics, you’ll create usable compost in 2-3 months.
Key Takeaways
- Simple Setup: Begin with a basic bin or pile using readily available materials.
- Material Balance: Maintain a 3:1 ratio of browns to greens for optimal decomposition.
- Location Matters: Place your compost in a convenient, partially shaded spot with good drainage.
- Regular Maintenance: Turn the pile every 3-4 days and keep it moist like a damp sponge.
- Harvest Ready: Compost is ready when it’s dark, crumbly, and has an earthy smell.
- Troubleshoot Fast: Address odors or slow decomposition by adjusting moisture, aeration, or material balance.
How to start composting at home using a simple bin system
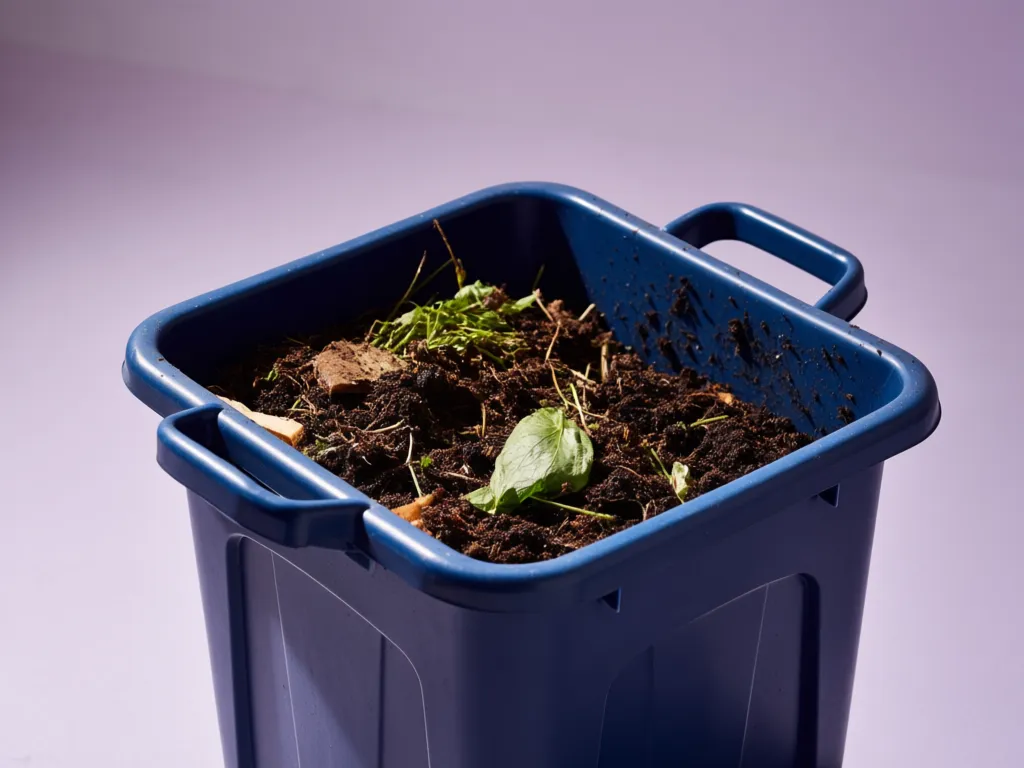
A simple bin system is the easiest way to start composting at home. You can purchase a ready-made compost bin, build one from pallets or wood, or even use a repurposed container with drainage holes. The key is to choose a system that fits your space and waste output. For beginners, a single bin or tumbler works well, providing containment while allowing proper aeration. Start by placing your bin on level ground with good drainage, then begin layering your materials according to the green-brown ratio. This basic setup requires minimal investment but delivers maximum environmental benefits.
When selecting a bin, consider your available space and the volume of waste you generate. A simple wooden bin with removable slats allows easy access for turning and harvesting. Plastic bins often come with tight-fitting lids that help retain moisture and exclude pests. For those with limited space, a rotating tumbler makes turning effortless and keeps the contained neat. Whatever system you choose, ensure it has adequate ventilation to promote aerobic decomposition, which is faster and less odorous than anaerobic breakdown.
Essential materials for a healthy compost recipe
Creating a healthy compost pile requires the right balance of materials, commonly categorized as “greens” and “browns.” Greens are nitrogen-rich materials like fruit and vegetable scraps, coffee grounds, fresh grass clippings, and green plant trimmings. Browns are carbon-rich materials such as dried leaves, shredded paper or cardboard, twigs, straw, and wood chips. The ideal ratio is approximately 3 parts browns to 1 part greens. Avoid adding meat, dairy, oils, and diseased plants, as these can attract pests or slow decomposition. Your kitchen waste paired with yard debris provides most of what you need, making composting both sustainable and cost-effective.
| Easy to compost | Challenging to compost |
|---|---|
| Kitchen peelings – Fruit scraps, vegetable skins, cores. | Meat – Attracts pests unless you use Bokashi or hot composting. |
| Straw – Ideal for adding carbon; helps aerate the pile. | Fish – Difficult to compost because of smell. |
| Grass cuttings – Add in thin layers; mix with browns to prevent a slimy mess. | Oily foods – Slow to break down and can repel water. |
| Weeds without seeds – Avoid invasive species even without seeds. | Dairy products – Attracts pests; use sparingly in Bokashi or hot composting only. |
| Shredded paper or cardboard – Tear into small pieces for faster breakdown. | Most tea bags – Many contain ‘compostable’ plastics that need serious heat to break down. |
| Manures from herbivores – Rabbit, cow and horse manure add nitrogen. | Weeds with seeds – Seeds can germinate when compost is used. Best for hot compost systems only. |
Selecting the ideal location for your compost pile
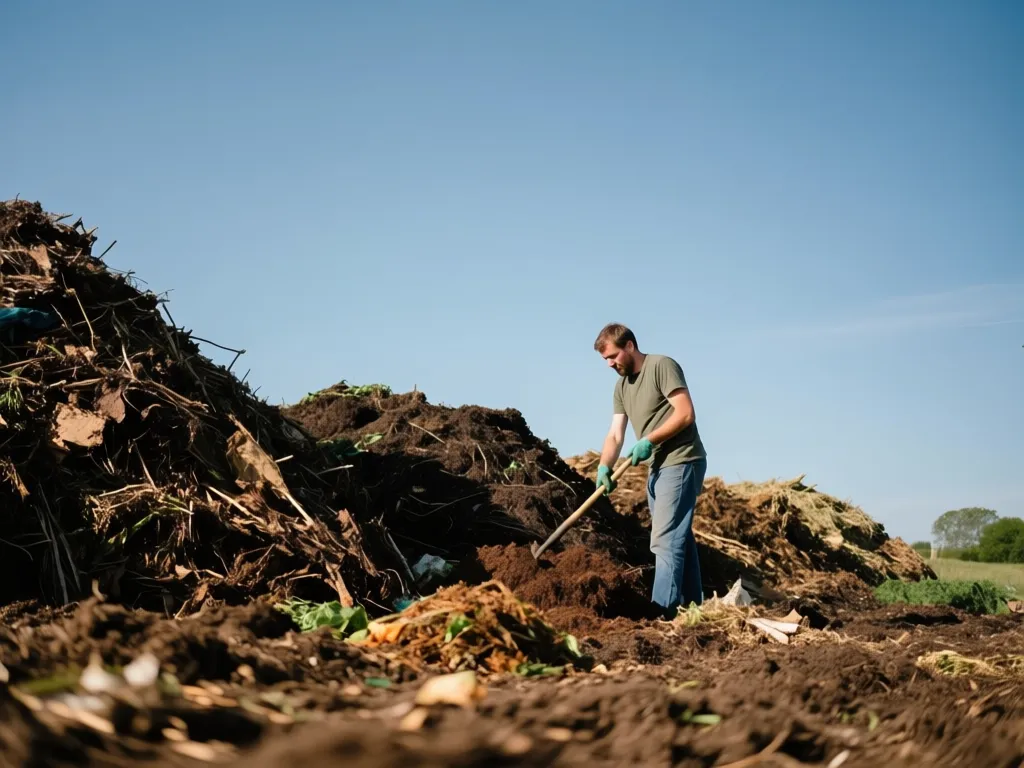
Choosing the right location is crucial for successful composting. Select a spot that’s convenient for adding materials and accessing finished compost, yet not too close to living areas due to potential odors or pests. The ideal location should have partial shade to prevent the pile from drying out in hot sun while allowing some sunlight to aid the decomposition process. Ensure good drainage to prevent waterlogging, and consider proximity to a water source for maintaining proper moisture levels. A flat, well-drained area with good air circulation works best. Urban gardeners can often place compost bins on patios or balconies, while those with more space can locate them near gardens or utility areas.
When positioning your compost, think about accessibility and neighborhood relations. Place it where it’s easy to reach with kitchen scraps and yard waste, typically within 50 feet of your home. If you have neighbors, consider screening the compost area with fencing or plantings to maintain visual appeal. The spot should receive at least 4-6 hours of partial sunlight daily – enough to warm the pile for decomposition but not so much that it dries out excessively. Avoid low-lying areas that collect water, as excess moisture can lead to anaerobic conditions and unpleasant odors.
Balancing green and brown waste for decomposition
Proper balancing of green and brown materials is the secret to efficient composting. Greens provide nitrogen for microbial activity, while browns supply carbon for energy and structure. Aim for a 3:1 ratio of browns to greens by volume. When adding kitchen scraps, always cover them with a layer of browns to prevent odors and pests. For example, add a bucket of vegetable waste, then top it with three buckets of dried leaves or shredded cardboard. Chop materials into smaller pieces when possible to speed decomposition. Turn the pile regularly to mix materials and introduce oxygen, which accelerates the breakdown process. If your pile seems too wet, add more browns; if it’s too dry, add water along with fresh greens.
| “Greens” | “Browns” |
|---|---|
| Fresh grass clippings | Small pruned twigs and branches |
| Fresh ornamental leaves | Coniferous needles |
| Withered flowers | Dried, brown grass clippings |
| Green, pliable vines | Deciduous leaves |
| Fruit and vegetable scraps | Shredded paper or cardboard |
| Coffee grounds and filters | Straw or hay |
| Tea leaves (without bags) | Wood chips or sawdust |
The decomposition process works best when materials are in small pieces, increasing surface area for microbial action. For kitchen waste, chop or blend scraps before adding to the pile. For yard waste, run over leaves with a mower to shred them. When adding grass clippings, spread them in thin layers and mix with browns immediately to prevent matting and compaction. This balanced approach creates the ideal environment for beneficial bacteria and fungi to break down organic matter efficiently.
Signs your compost pile is ready for harvest
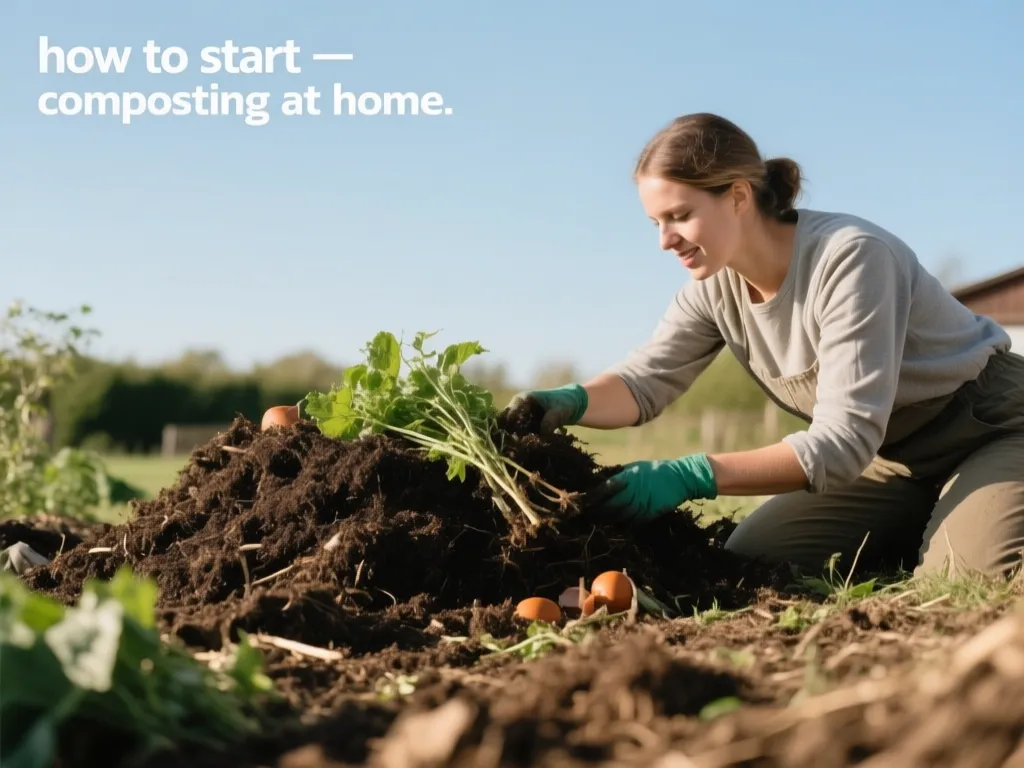
Mature compost has distinct characteristics that indicate it’s ready for use. The finished product should be dark brown or black, crumbly in texture, and smell like fresh earth rather than decaying material. You’ll no longer recognize the original ingredients, and the pile will have cooled significantly from its peak temperatures. The compost should be uniformly moist throughout, with no slimy or dry patches. To test readiness, squeeze a handful – it should hold together briefly but crumble easily when disturbed. Once harvested, the compost can be used immediately in gardens, flower beds, or potted plants. Typically, with proper maintenance, you can expect to harvest finished compost every 2-3 months.
When harvesting your compost, you may find some undecomposed materials that need additional time. Simply set these aside to return to the pile later. Use a sifting screen or hardware cloth to separate finished compost from larger pieces that need more time. The finished compost can be applied directly to garden beds as a soil amendment, mixed with potting soil for container plants, or used as a top dressing around established plants. Compost improves soil structure, increases water retention, and provides slow-release nutrients to support healthy plant growth.
Troubleshooting slow decomposition and odor issues
Even the best-maintained compost piles can occasionally develop problems. Slow decomposition often results from insufficient aeration, improper moisture levels, or incorrect material ratios. To fix this, turn the pile more frequently to introduce oxygen, adjust moisture to resemble a damp sponge, and ensure proper brown-green balance. Odors usually indicate excess moisture or insufficient aeration – add more browns and turn the pile to increase airflow. If pests become an issue, bury food scraps deeper in the pile and ensure no meat or dairy products have been added. In cold weather, insulate your pile with a layer of cardboard or straw to maintain decomposition temperatures. Regular monitoring and quick adjustments will keep your compost system running smoothly.
Common compost problems have straightforward solutions. If your pile is too wet and smelly, add dry browns like shredded cardboard or wood chips and turn it to increase oxygen. If decomposition seems stalled, check the moisture level – it should feel like a damp sponge, not dripping wet or completely dry. In cold climates, consider using a black tarp to insulate the pile during winter months. For households with limited brown materials, keep a stash of shredded cardboard, dried leaves, or straw to maintain proper ratios. Remember that composting is a natural process, and occasional setbacks are normal – the key is making small adjustments rather than drastic changes.
FAQ
How long does it take to make compost?
Compost can be ready in as little as 2 months with optimal conditions and regular turning, or up to 6 months in less ideal situations. Factors like material size, pile temperature, and maintenance frequency all affect decomposition time.
Can I compost in an apartment?
Yes, apartment dwellers can compost using vermicomposting (worm bins) or specialized countertop composters that fit in small spaces. These methods handle kitchen waste efficiently without requiring outdoor space.
What should never go in my compost pile?
Avoid meat, dairy products, oils, bones, pet waste, and diseased plants. These materials can attract pests, create unpleasant odors, or introduce harmful pathogens to your compost.
Do I need to add special activators to my compost?
Not necessarily. While commercial activators exist, they’re not essential for home composting. A proper balance of green and brown materials, along with regular turning, provides all the necessary conditions for decomposition.
How do I prevent my compost from attracting pests?
Keep food scraps buried under a layer of browns, avoid adding meat or dairy, ensure proper moisture levels, and use a enclosed bin if possible. Turning the pile regularly also discourages pest infestations.