Composting kitchen waste is one of the most rewarding aspects of gardening, transforming everyday scraps into nutrient-rich soil that your plants will thrive on. Just imagine the satisfaction of enriching your garden while reducing waste! Plus, it’s an excellent way to kickstart your organic gardening journey.
Here’s what you need to know: Sun: Full sun; Water: Keep moist, not soggy; Zones: All USDA zones; Difficulty: Easy to moderate. Composting takes about 3-6 months to produce finished compost, depending on your method.
| Sun Needs | Water | Soil pH | USDA Zones | Difficulty | Time to Harvest |
|---|---|---|---|---|---|
| Full Sun | Keep Moist | 6.0 – 7.5 | All Zones | Easy to Moderate | 3-6 Months |
Benefits of Composting
Composting kitchen waste is a vital practice for enriching your soil and promoting healthy plant growth. By recycling nutrients from your kitchen scraps, you contribute to a sustainable gardening ecosystem while also minimizing waste and reducing your environmental impact.
Nutrient Recycling
Composting transforms kitchen waste into nutrient-rich organic matter that enhances soil quality. This process returns essential nutrients back to the soil, promoting vigorous plant growth. Key benefits include:
- Improved Soil Structure: Compost improves aeration and drainage, allowing roots to access water and nutrients more effectively.
- Enhanced Nutrient Profile: Compost provides nitrogen, phosphorus, potassium, and trace minerals, supporting diverse plant needs.
- Microbial Activity: Adds beneficial microorganisms that improve soil health and plant resilience against diseases.
Environmental Impact
By composting kitchen waste, you actively contribute to reducing landfill waste and greenhouse gas emissions. Consider the following:
- Waste Reduction: Composting diverts organic waste from landfills, reducing overall waste volume.
- Carbon Footprint: Composting lowers your carbon footprint by minimizing methane emissions associated with decomposing food waste in landfills.
“In my experience, composting kitchen scraps not only nourishes my plants but also makes me feel good about reducing waste.”
| Benefit | Description |
|---|---|
| Waste Diversion | Reduces landfill waste by using kitchen scraps. |
| Soil Health | Enhances soil fertility and structure. |
| Reduced Emissions | Minimizes greenhouse gas emissions from waste decomposition. |
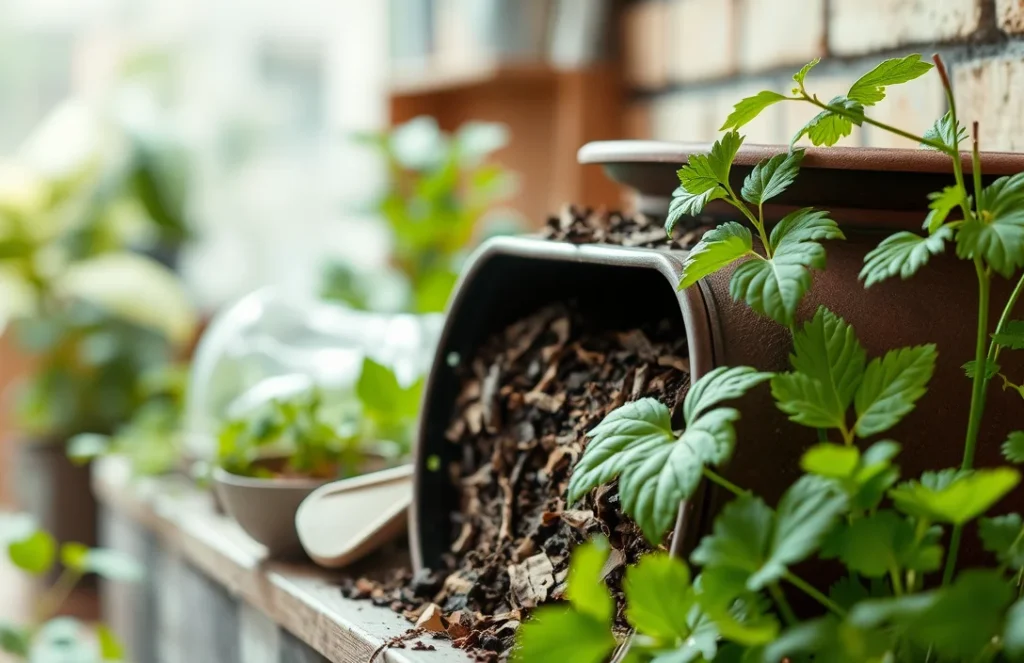
Kitchen Waste to Compost
Composting kitchen waste is a vital step in enriching garden soil and promoting healthy plant growth. By utilizing common kitchen scraps, gardeners can create nutrient-rich compost that enhances soil structure and fertility. Here are some key kitchen waste items that can be composted and their benefits.
- Vegetable Scraps: Leftover vegetable peels, stems, and cores are rich in nitrogen, which is essential for plant growth. Items like carrot tops and potato peels break down quickly and help balance carbon-rich materials in your compost pile.
- Fruit Peels: Citrus peels, apple cores, and other fruit scraps provide essential nutrients and add moisture to your compost. They also attract beneficial microorganisms that aid in the decomposition process. However, use citrus in moderation as it can increase acidity.
- Coffee Grounds: Used coffee grounds are an excellent source of nitrogen and help improve soil structure. They can also attract earthworms, which are beneficial for aerating the soil. Sprinkle coffee grounds directly into the garden or mix them into your compost for best results.
Incorporating these kitchen waste items into your compost not only reduces landfill waste but also provides a powerful boost to your garden’s soil health. Composting is an ongoing process, so remember to balance green materials (like kitchen scraps) with brown materials (like dried leaves or cardboard) for optimal results.
Composting Methods
Composting kitchen waste effectively enriches garden soil and supports plant growth. Understanding various composting methods helps you choose the best approach for your space, whether you have a small balcony or a large yard. Below are three popular methods: bin composting, pile composting, and vermicomposting.
-
Bin Composting
This method involves using a compost bin designed for easy access and aeration. Choose a bin with a capacity of at least 3 cubic feet for efficient decomposition. Start by layering kitchen scraps like vegetable peels and coffee grounds with brown materials such as dried leaves or shredded paper in a 2:1 ratio.
-
Pile Composting
If you have space, consider making a compost pile. Start with a base of coarse materials like straw or small branches to promote airflow. Continue to add kitchen waste, keeping the pile moist but not soggy, and turn it every few weeks to aerate. This method is best for larger amounts of waste and can break down materials in 4-6 months.
-
Vermicomposting
This technique uses red worms to break down kitchen scraps. Set up a worm bin with layers of moist bedding, such as shredded newspaper or cardboard, and add kitchen waste in small amounts. Maintain a temperature of 55-77°F and ensure the bin is kept dark. Worm compost can be harvested in 3-4 months and is rich in nutrients for plants.
Maintaining Compost Health
Maintaining a healthy compost pile is essential for producing nutrient-rich compost that will benefit your garden. A balanced mix of green and brown materials, along with proper moisture control, ensures that your compost breaks down efficiently and provides the best results for your plants.
Balancing Greens and Browns
- To create a successful compost pile, aim for a ratio of about 2:1 of browns (carbon-rich materials) to greens (nitrogen-rich materials). Browns include dried leaves, straw, and cardboard, while greens consist of kitchen scraps like fruit peels, vegetable trimmings, and coffee grounds.
- Regularly monitor the contents of your compost. If it smells bad or is too wet, add more browns to improve aeration and reduce moisture. If it’s dry and not breaking down, incorporate more greens to boost nitrogen levels.
Moisture Control
- Keep your compost pile moist but not soggy. Aim for a moisture level similar to that of a damp sponge. Water your compost pile if you notice it becoming dry, especially during hot weather.
- Turn your compost every 2-3 weeks to aerate it and encourage even moisture distribution. This helps speed up decomposition and prevents anaerobic conditions, which can lead to unpleasant odors.
Troubleshooting Compost Issues
Composting kitchen waste can sometimes lead to unpleasant odors or unwanted pests, which can be frustrating for gardeners. Addressing these issues promptly not only makes the composting process more pleasant but also enhances the quality of the compost produced for your plants.
Odor Control
Symptom: Foul odors emanating from the compost pile.
Cause: An imbalance of green (nitrogen-rich) and brown (carbon-rich) materials, or insufficient aeration.
Fix:
- Ensure a balanced mixture of about 1 part green to 3 parts brown materials.
- Add dry leaves, straw, or shredded paper to absorb excess moisture.
- Turn the compost pile every 1-2 weeks to aerate and promote decomposition.
Maintaining moisture levels is crucial; aim for a damp sponge-like texture, adding water as needed.
Pest Prevention
Symptom: Insects or rodents attracted to the compost.
Cause: Improperly managed food scraps, particularly meat, dairy, or oily foods, which can attract pests.
Fix:
- Avoid adding meat, dairy, or greasy foods to your compost.
- Use a closed compost bin to deter pests and manage temperature.
- Consider adding beneficial nematodes or diatomaceous earth to eliminate pests.
Regularly check your compost and remove any unwanted materials to keep the environment healthy for decomposition.
Using Finished Compost
Effectively using finished compost is crucial for enriching your garden soil and enhancing plant growth. This section will guide you through soil amendment techniques and mulching methods that will maximize the benefits of your homemade compost.
Soil Amendment
- Before applying compost, ensure your garden soil is tested for pH and nutrient levels. Ideally, compost should be mixed into the soil at least 1-2 weeks before planting to allow it to integrate.
- Spread a 1-2 inch layer of finished compost over the area you plan to plant. Work the compost into the top 6-12 inches of soil to improve texture, drainage, and nutrient content, enhancing growth conditions.
- For established plants, apply compost as a top dressing around the base. This should be done in early spring and mid-summer to provide a nutrient boost during the growing season.
Mulching Techniques
- Using compost as mulch helps retain moisture, suppress weeds, and regulate soil temperature. Apply a 2-3 inch layer around plants, taking care not to pile it against stems or trunks.
- Replenish the mulch layer as it breaks down, typically every 6-8 weeks during the growing season. This will maintain its effectiveness and provide continual nutrients to the soil.
- Consider combining finished compost with other organic materials, such as straw or wood chips, to enhance texture and slow down decomposition. This mixed mulch can last longer and provide better weed control.
By incorporating finished compost into your garden as a soil amendment and mulch, you will create a thriving environment that supports healthy plant growth.
Composting Calendar
A well-planned composting calendar can significantly enhance the efficiency of composting kitchen waste, leading to nutrient-rich soil for your garden. By following seasonal tasks and monthly checklists, you can ensure that your compost pile remains active and beneficial for plant growth throughout the year.
Monthly Checklist
| Month | Task | Notes |
|---|---|---|
| January | Turn compost pile | Ensure it’s warm enough; consider adding green materials. |
| February | Add kitchen scraps | Continue layering; keep it moist. |
| March | Monitor temperature | Aim for 130°F to 160°F for active composting. |
| April | Start new compost pile | Use spring kitchen scraps. |
| May | Mulch with finished compost | Prepare garden beds. |
| June | Water compost | Keep moisture levels consistent during dry spells. |
| July | Turn compost pile | Check for pests; add crushed eggshells for calcium. |
| August | Add kitchen scraps | Include more green materials as summer cooking continues. |
| September | Harvest finished compost | Use for fall planting. |
| October | Prepare for winter | Insulate compost pile with leaves or straw. |
| November | Monitor moisture | Keep pile moist but not soggy. |
| December | Turn compost pile | Maintain activity during cooler months. |
Seasonal Reminders
- Spring: Focus on adding green waste as you start your garden.
- Summer: Water regularly to combat heat and encourage decomposition.
- Fall: Collect leaves and mix them into your compost for carbon.
- Winter: Insulate your compost pile to maintain heat and activity.
“Properly timed composting leads to a rich harvest; keep your eyes on the seasons!”
Visual Composting Guide
This section provides essential visual aids and infographics to simplify the composting process for kitchen waste. Understanding these visuals can enhance your composting efforts, ensuring your garden soil is rich and your plants thrive.
Step-by-Step Diagrams
- Gather kitchen scraps: vegetable peels, coffee grounds, and eggshells.
- Add carbon-rich materials: shredded paper, dry leaves, or straw.
- Layer the materials in a compost bin: start with a base of coarse materials for aeration.
- Maintain moisture: keep the compost damp but not soggy.
- Turn the pile every 2-4 weeks to aerate and speed up decomposition.
- Check temperature: it should be between 130°F and 160°F for effective composting.
- Harvest compost: ready when it resembles dark, crumbly soil and has a pleasant earthy smell.
Common Pitfalls
- Too much nitrogen: avoid excess kitchen scraps; balance with carbon sources.
- Not enough aeration: regularly turn your compost to prevent odor and slow decomposition.
- Excess moisture: if it smells sour, add dry materials and aerate.
- Ignoring pests: use organic pest control methods like diatomaceous earth if you find pests.
“In my experience, a balanced compost pile is key to producing rich compost without unpleasant odors.”
| Pitfall | Symptoms | Solution |
|---|---|---|
| Too wet | Sour smell, slimy texture | Add dry materials, turn the pile |
| Too dry | Slow decomposition | Add water, maintain moisture |
| Pests | Insects or rodents present | Use traps, keep kitchen scraps covered |
Quick Summary
- Growing conditions: Full sun; well-draining soil; USDA zones 3-10.
- Critical care tasks: Turn compost every 2-4 weeks; maintain moisture; monitor temperature.
- Best planting time: Spring or fall for compost application, depending on zone.
- Top companion plants: Tomatoes, peppers, and basil thrive with compost-enriched soil.
- #1 mistake to avoid: Overloading with meat and dairy, which attract pests.
- Expected harvest time: Compost ready in 2-6 months, depending on conditions.
| Zone | Compost Time |
|---|---|
| 3-5 | 6 months |
| 6-7 | 3-4 months |
| 8-10 | 2-3 months |
Frequently Asked Questions
When is the best time to start composting kitchen waste?
You can start composting kitchen waste anytime, but spring and fall are ideal for balancing greens and browns as temperatures are mild and microbial activity is high.
How often should I turn my compost pile?
Turn your compost pile every 2-4 weeks to aerate it and speed up decomposition; more frequent turning can be beneficial in hotter months.
Why does my compost smell bad?
A bad smell usually indicates that your compost is too wet or has too many greens; add more browns like dried leaves or cardboard and turn it to aerate.
What can I do about pests attracted to my compost?
Pests are often attracted to food scraps, so ensure you bury kitchen waste deep in the pile and cover it with browns to minimize exposure.
How do I know when my compost is ready to use?
Your compost is ready when it has a dark, crumbly texture and smells earthy, which typically takes 3-6 months depending on conditions like temperature and moisture.